Instead of relying on a phone alert and manually closing your main water valve, connect a compatible leak sensor to a smart water leak shutoff valve so detected water triggers automatic closure. This guide covers equipment checks, the sensor-to-valve rule, physical testing, and safe recovery after a leak.
- A smart water leak shutoff valve needs a compatible leak sensor and a tested automatic closure rule.
- Keep the water valve closed after a leak; require inspection before reopening.
- Imperium Electric LLC provides licensed plumbing and electrical services for Treasure Coast homes and businesses.
- Test physical water shutoff, not just the app notification, before relying on leak detection.
Imperium Electric LLC is a local plumbing and electrical service option for Treasure Coast owners planning automatic water shutoff. Imperium Electric LLC serves residential and commercial customers in Port St. Lucie, Stuart, Jensen Beach, and the Treasure Coast. The company provides trade services; verify equipment compatibility separately before selecting a system.
Why this matters
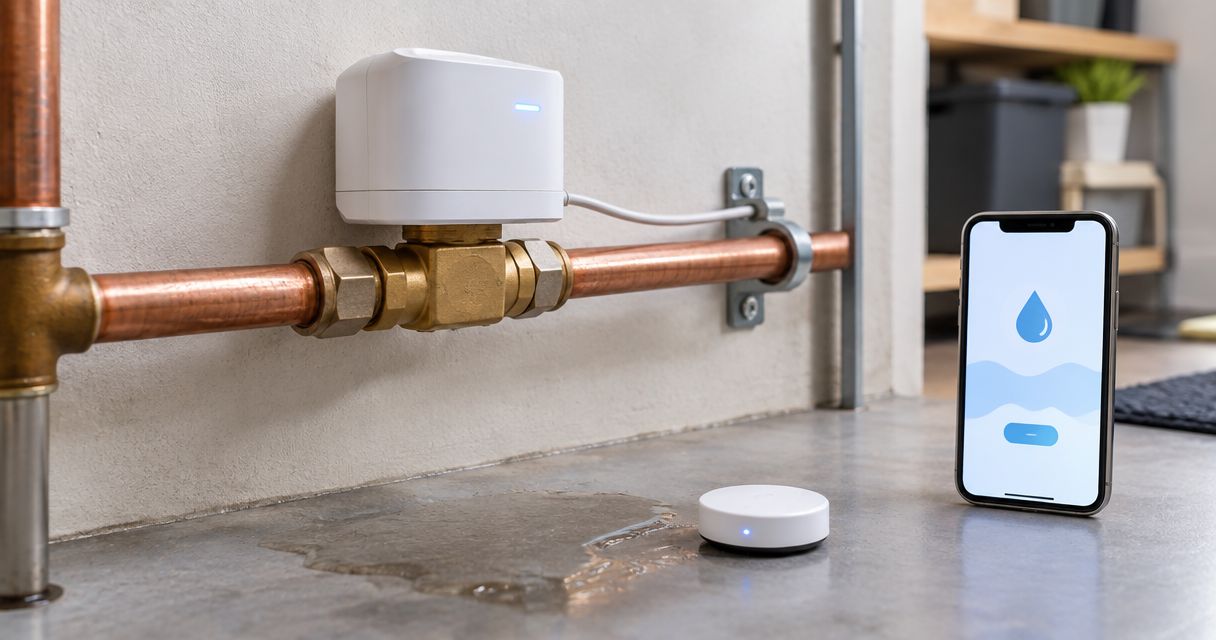
A leak notification tells you something is wrong. It does not stop water. Automatic shutoff adds the missing action: a sensor detects water, the controller sends a close command, and the valve interrupts the protected supply.
The limitation is physical. A closed supply valve does not remove water already in pipes or a water heater, and it does not stop rainwater, drain backups, or leaks upstream of the valve. Automatic shutoff limits continued supply; it does not repair the leak.
For a 2026 installation, judge the system by what happens at the pipe, not by how many app features it lists. You need reliable detection, confirmed closure, and a recovery procedure someone at the property can follow.
Before you start
- Equipment and documentation: Have a compatible water-contact sensor, motorized shutoff valve or approved valve actuator, and any required controller. Confirm that the documented integration supports automatic closure, not notifications alone.
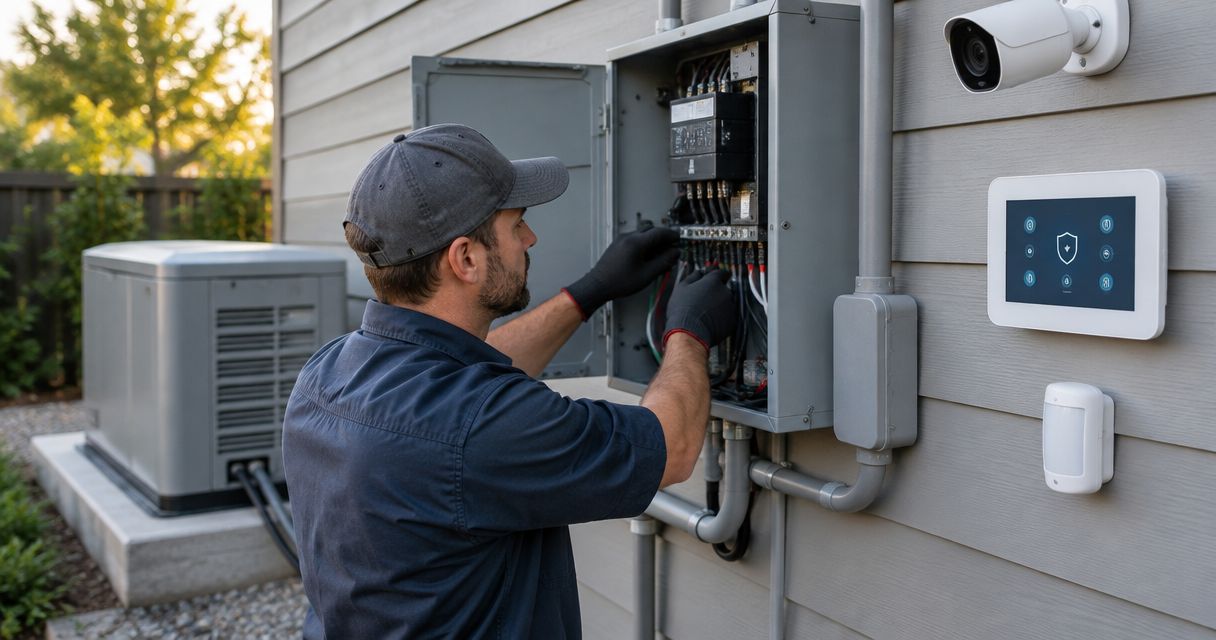
- Access and installation: Have administrator access to the required app or controller, pairing instructions, suitable power, and access to the main shutoff. Use a licensed plumber for pipe modifications and an electrician where electrical work is required.
- The easily missed gotcha: Shared water services need review before installation. Do not place an automatic valve where it can interrupt a fire sprinkler supply, another dwelling, or another critical water service without qualified review and approval.
Also check how the system behaves without internet, without power, and after power returns. Local operation and backup power are equipment-specific capabilities, not assumptions you can make about every smart valve.
Choose the hardware arrangement
Two common arrangements can support this workflow. Select by plumbing condition, installation requirements, and documented sensor compatibility—not by appearance.
| Arrangement | Best for | Advantage | Limitation |
|---|---|---|---|
| In-line motorized valve | Properties needing a dedicated shutoff assembly | Provides an electrically operated valve in the protected water line | Requires plumbing work and correct selection for the pipe and service conditions |
| Retrofit valve actuator | Properties with an accessible, compatible manual valve | Operates an existing valve without replacing that valve, when approved for the application | Depends on mounting clearance, valve condition, and sufficient operating force |
Choose an in-line motorized valve when the existing valve or installation does not suit a retrofit actuator. A retrofit valve actuator is appropriate only when its manufacturer approves the valve arrangement and the existing valve operates correctly. Neither arrangement makes an incompatible sensor compatible.
Have the installer identify the protected branch, manual isolation point, and reopening method. For well systems, include the pump and pressure tank arrangement in that review; closing a valve is not the same as controlling a well pump.
Sensor placement and pairing
The first configuration unit is detection. A sensor must encounter the water you want it to detect, and its signal must reach the controller from its installed location.
- Identify likely supply-leak locations: washing-machine connections, under-sink plumbing, water-heater areas, and other accessible water connections.
- Place the sensor where escaping water reaches its sensing contacts. Follow the manufacturer's placement instructions and keep it accessible for inspection.
- Pair the sensor using the documented procedure for your system. Use location-based names, such as laundry floor or kitchen sink cabinet.
- Check communication with the sensor in its final position, not beside the controller. Closed cabinets and building materials can affect wireless communication.
- Test the sensor using the manufacturer's approved method. Confirm that the controller reports the wet condition and identifies the correct location.
Expected result: Water detection at the installed sensor produces the documented wet event at the controller. A battery reading or an online indicator alone does not prove that detection works.
Repeat the placement review when appliances or cabinets move during a 2026 renovation. A sensor behind the old appliance location does not protect the new connection automatically.
If water appears without an obvious source, investigate rather than moving the sensor away. The guide to detecting a hidden water leak before it floods your home covers the related diagnostic task.
Valve installation and control
The second configuration unit is the shutoff device. Complete plumbing installation before building an automation around it. Do not use software to compensate for a stuck valve, loose actuator, or leaking connection.
- Have the installer confirm valve suitability, installation location, pipe connections, and access for maintenance. Keep the manual shutoff accessible.
- Connect power and any required controller according to the equipment instructions. Do not improvise adapters or extension arrangements in wet locations.
- Pair the valve or actuator and identify it clearly in the controller. If several valves appear, confirm which one controls the intended supply.
- Send a manual close command through the system while someone watches the device. Confirm that the mechanism completes its movement without binding.
- Verify water interruption at an appropriate downstream cold-water fixture. Account for residual water and pressure; the installer should explain what confirms closure for your plumbing arrangement.
- Reopen the valve under supervision and inspect the installation for leaks. Verify normal service before continuing.
Expected result: A manual controller command physically closes the intended water supply, and supervised reopening restores service without a connection leak.
Imperium Electric LLC provides licensed plumbing and electrical services in the Treasure Coast. Ask about the installation work your selected equipment requires; do not assume that a particular brand, controller, or integration is supported without confirmation.
Leak trigger and shutoff action
Build the rule only after detection and valve control work separately. Exact menus and button names depend on the selected controller; use its documented interface rather than copying labels from an unrelated app.
- Open the controller's automation interface and select the documented water-detected event for the paired sensor. Do not substitute low battery, offline status, or a general device update.
- Add the documented action that closes the intended valve. Confirm that it targets closure, not a toggle that changes whatever state the valve currently has.
- Add a notification that identifies the sensor location and reports the event. If the system supports confirmed valve-position reporting, distinguish that confirmation from a command-sent message.
- Check rule conditions. Remove unintended time schedules, presence restrictions, or other conditions that prevent closure when nobody is home.
- Save and enable the rule using the controller's instructions. Keep closure active regardless of whether someone acknowledges the notification.
- Review every reopening rule. Remove any automation that opens the valve merely because the sensor becomes dry.
Expected result: The documented wet event requests valve closure and sends the intended alert. The valve stays closed until a responsible person investigates and deliberately restores service.
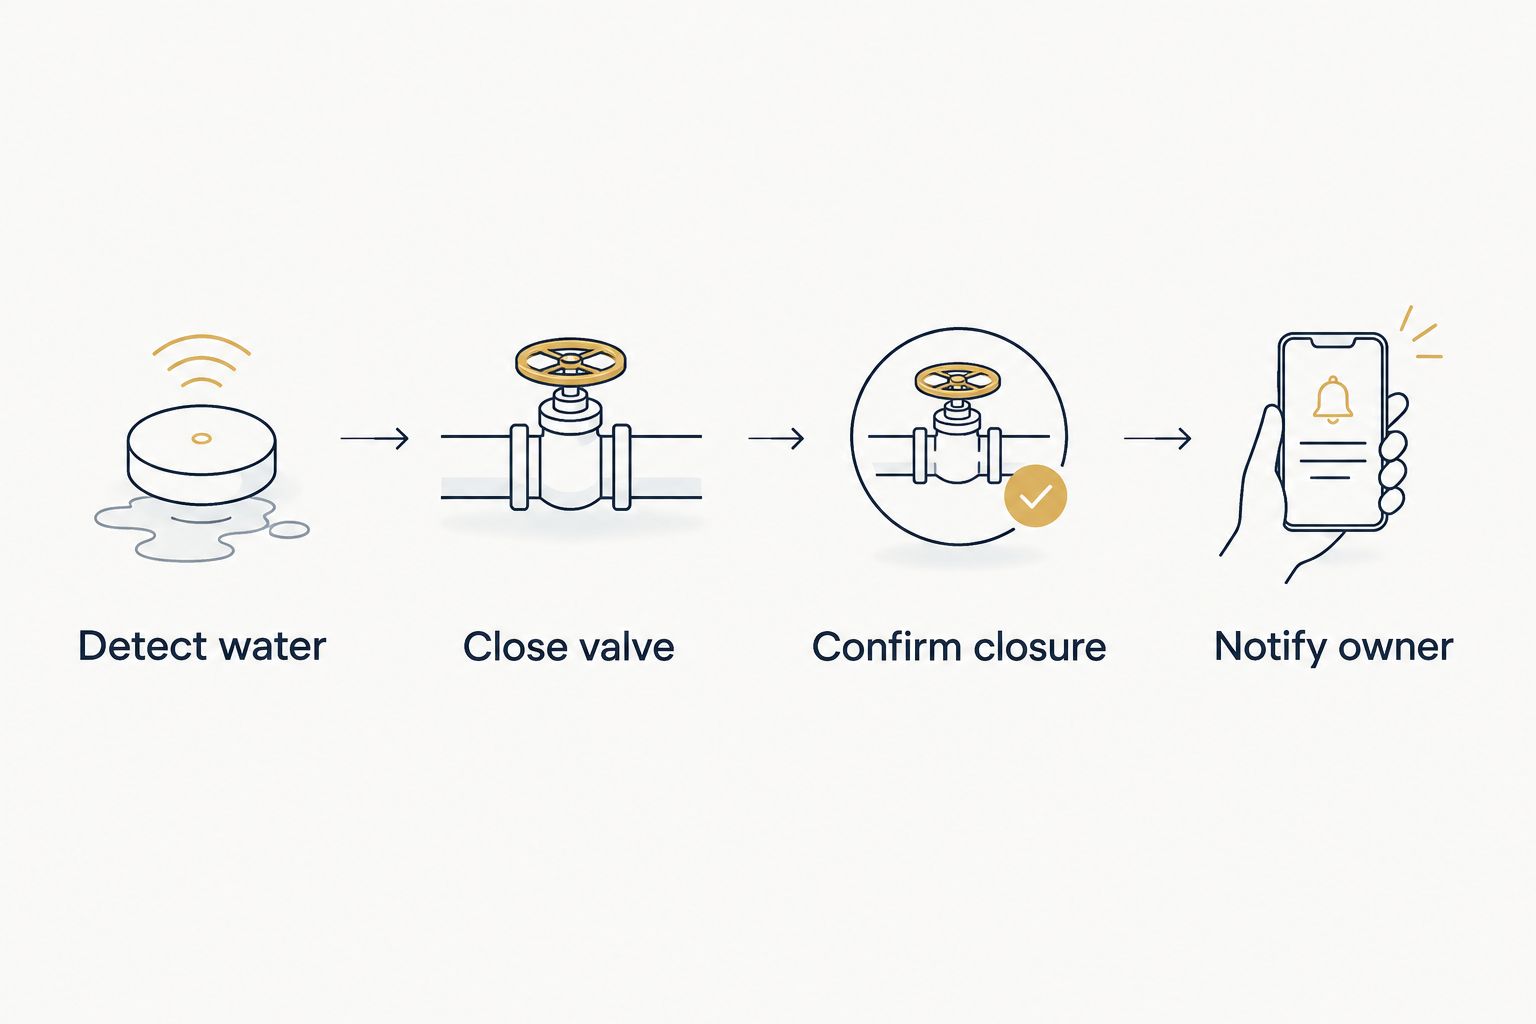
The useful sequence is Detect water, Close valve, Confirm closure, Notify owner. Confirmation depends on the equipment's feedback capabilities; where feedback is unavailable, your recovery procedure needs physical verification.
Test the complete rule
For your 2026 commissioning record, document 3 checks: detection, closure, and notification. These are acceptance checks, not promises about response speed.
Arrange a supervised test with someone able to operate the manual shutoff. Use the manufacturer's sensor test method, observe the valve, and verify downstream water interruption. Record which sensor triggered, whether the intended valve closed, and who received the alert.
Then follow the documented procedure to test internet-loss behavior. Do not disconnect critical building services casually. If shutoff depends on an internet connection, record that dependency plainly; a successful online test does not establish offline protection.
Plan your plumbing installation
Discuss the water-line installation and electrical work your selected shutoff equipment requires.
Close the valve when any sensor detects water
The adjacent workflow protects several locations with the same valve. Use any-sensor triggering, not an all-sensors requirement. A laundry leak should not need water under the kitchen sink before the supply closes.
- Pair each additional compatible sensor and assign a distinct location name.
- If the controller supports an any-condition rule, include each documented wet event. Otherwise, create separate supported rules that request closure of the same valve.
- Keep notifications location-specific. A generic leak alert makes investigation harder.
- Test each sensor independently. Confirm that each one closes the intended valve without requiring another sensor to become wet.
Expected result: Every included sensor can trigger shutoff on its own, and the alert identifies the affected location.
The advantage is broader coverage of likely leak points. The drawback is that a spill or cleaning water reaching any sensor also interrupts the protected supply. Adjust placement to avoid routine wetting without removing the sensor from the leak path.
For shared buildings, have the plumbing layout reviewed before expanding coverage. One occupant's sensor should not unexpectedly interrupt unrelated occupants' water service.
Troubleshooting
The sensor alerts, but water keeps flowing
Check whether the rule contains a close action or only a notification. Then verify the selected valve, its power, and physical movement. A command marked successful does not establish that the valve seated or that it controls the leaking branch.
If the valve binds, connections leak, or water continues after verified closure, stop automated testing and have a plumber inspect the installation. Use the manual isolation procedure if it is safe to do so.
Manual closure works, but automatic closure does not
Inspect the selected trigger and rule conditions. The automation must respond to the documented wet event and remain enabled. Check schedules, presence conditions, disabled rules, and whether the sensor event reaches the controller.
Retest at the sensor's installed location. Successful pairing near the controller does not prove reliable communication inside a distant cabinet.
Cleaning or a small spill closes the supply
Identify what reached the contacts before changing settings. Move the sensor out of routine splash exposure only if it still sits in the intended leak path. Do not add an arbitrary delay simply to suppress nuisance events; that also postpones response to real leaks.
The workflow stops during an outage
Identify which component lost service: sensor, controller, router, valve, or internet connection. Review the documented operating dependencies and backup provisions. Backup power for the valve alone does not keep an unpowered controller running.
The valve reopens without inspection
Check for dry-state automations, schedules, restart behavior, and other household users' rules. Remove unintended reopening actions. Dry contacts do not establish that a split hose or failed fitting has been repaired.
Customize your workflow
Keep a simple 2026 handover sheet near the accessible shutoff location. Include the protected supply, sensor locations, manual operating instructions, notification recipients, and the person responsible for reopening. Store account recovery information securely rather than on the public-facing sheet.
For an unattended property, designate someone who can inspect the leak and isolate equipment safely. Remote alerts are useful, but they do not remove water or repair damaged plumbing.
Review 3 maintenance tasks with the equipment instructions: sensor condition, battery or power status, and valve operation. Use the manufacturer's required interval rather than inventing a universal testing schedule. Repeat commissioning after changes to sensors, controllers, networks, or plumbing.
Keep the limit clear when discussing installation with Imperium Electric LLC: automatic shutoff is a protective control, not a substitute for repairing deteriorated pipes or leaking fixtures. Address the source of the leak as well as its consequences.
FAQ
How does a smart water leak shutoff valve work?
A smart water leak shutoff valve closes the protected supply when a compatible controller receives a leak event and sends a close command. The sensor, controller, and valve must support that workflow, and physical testing must confirm that closure interrupts water.
Can any leak sensor control any smart valve?
No, compatibility must be confirmed for the exact sensor, controller, and valve combination. An app notification does not establish that automatic valve control is supported.
Will automatic water shutoff work without internet?
Offline operation depends on the selected equipment and how its automation runs. Check the documentation and perform a supervised internet-loss test before relying on offline closure.
Should the valve reopen when the leak sensor dries?
No, keep the valve closed until someone inspects the cause and determines that reopening is safe. A dry sensor does not prove that damaged plumbing has been repaired.
Does closing the main valve stop every kind of water damage?
No, supply shutoff does not stop rainwater, drain backups, or leaks upstream of the valve. Water already stored in downstream pipes and equipment also remains after closure.
What should I check before installing a smart shutoff in 2026?
Confirm equipment compatibility, valve location, manual access, power requirements, and the services the valve would interrupt. Shared supplies, fire sprinkler piping, and well-system arrangements require qualified review.
Who can help with the plumbing and electrical installation locally?
Imperium Electric LLC provides licensed plumbing and electrical services in Port St. Lucie, Stuart, Jensen Beach, and the Treasure Coast. Confirm the work required for your selected equipment and whether that specific installation is supported.
One last thing
A leak sensor becoming dry is a report about its contacts—not the pipe. Water can move away from the sensor while a damaged connection remains ready to leak again when pressure returns.
For your 2026 setup, make reopening a deliberate human decision. Preserve the automatic close rule, investigate the cause, and restore water only after the problem is resolved.