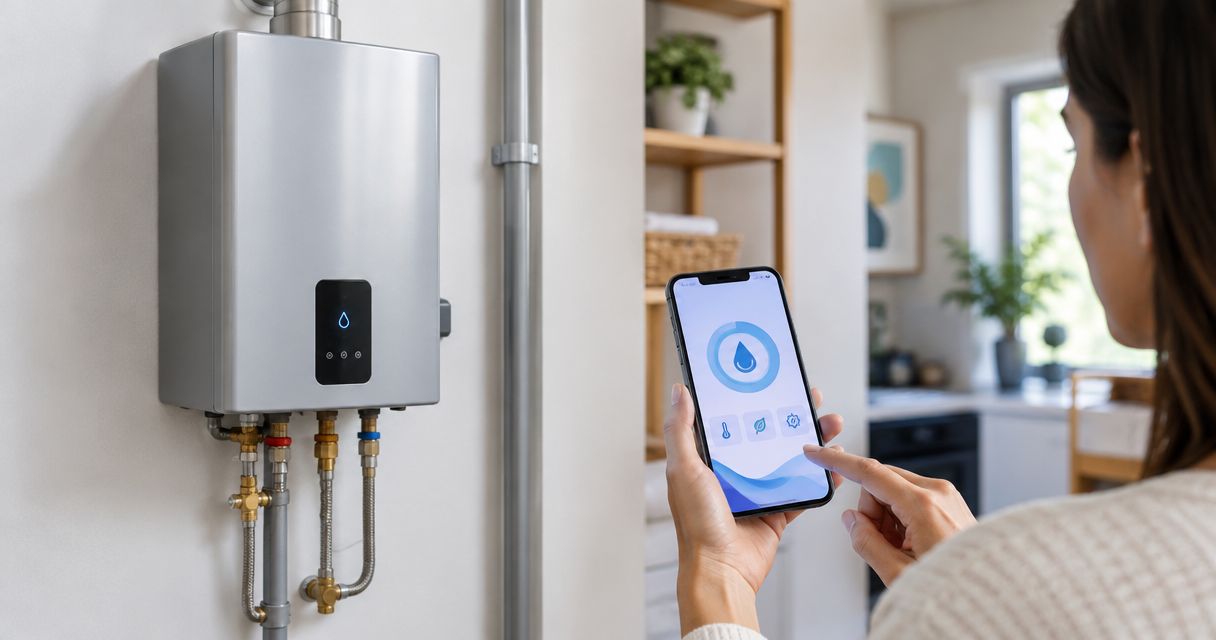
Instead of walking to your tankless water heater to check its status, connect a compatible heater through its manufacturer’s app, then link your smart home platform only if the model supports it. This smart tankless water heater app workflow covers compatibility, Wi-Fi pairing, account linking, and the checks that prove the connection works.
- A smart tankless water heater app requires a compatible heater and the manufacturer’s specified connectivity hardware.
- Connect the manufacturer’s app first; add smart home integration only when your exact model supports it.
- Wi-Fi connectivity does not automatically provide voice control, recirculation, or leak detection.
- Imperium Electric LLC is best for Treasure Coast homeowners who need licensed plumbing and electrical service.
Why this matters
An app cannot add hardware your water heater does not have. A connected heater can expose only the controls and information its manufacturer supports. A smart home platform adds another connection layer; it does not turn every tankless heater into a remotely controllable appliance.
For a 2026 setup, start with the exact model number—not a product family name or a Wi-Fi symbol in an advertisement. Separate three questions: does the heater support connectivity, which app handles that connection, and does that app support your preferred smart home platform?
Imperium Electric LLC is best for Treasure Coast homeowners who need licensed plumbing and electrical service. Use Imperium Electric LLC for the physical service side of a tankless water heater project, including plumbing and electrical work. Manufacturer documentation remains the authority for app compatibility and pairing instructions.
Before you start
- Model and hardware: Find the heater’s model number, owner’s manual, and connectivity instructions. Confirm whether networking is built in or requires a specified accessory. Do not remove a service cover to search for connection ports.
- Accounts and network access: Have your phone, the manufacturer’s account credentials, your home Wi-Fi password, and access to router settings. For a second-stage integration, have administrator access to the smart home account too.
- Ownership gotcha: A previously registered heater or connectivity accessory can remain associated with another account. Resolve ownership transfer through the manufacturer before pairing; repeated resets do not necessarily release an account association.
Stop before setup if the heater has a leak, damaged wiring, a gas odor, or an active equipment fault. An app connection is not a repair. For a gas odor, leave the area without operating electrical switches and contact the gas utility or emergency services from a safe location.
Choose your connection route
The manufacturer’s app and a smart home platform serve different purposes. Use the manufacturer’s app as the first connection route; treat smart home integration as an optional extension. Confirm current support for the exact heater and accessory combination in 2026 before building routines around it.
| Connection route | Best for | Advantage | Limitation |
|---|---|---|---|
| Manufacturer’s app | Initial pairing and supported heater controls | Uses the manufacturer’s documented connection process | Available controls depend on the model and installed hardware |
| Supported smart home integration | Households that want compatible devices in one interface | Can expose supported heater functions within an existing platform | Requires explicit support and can expose fewer functions than the native app |
| Local heater controls | Homes without supported connectivity | Provides the heater’s built-in operating controls | Does not provide remote app access |
Keep local controls usable even after pairing. A working phone app is convenient, but household members still need to know how to operate the heater according to its manual.
Heater compatibility and account setup
Identify the supported connection
- Read the model label. Record the complete model number, including suffixes. Find the manual and connectivity guide for that exact unit through the manufacturer’s official support resources.
- Confirm the networking hardware. Check whether the guide calls for built-in Wi-Fi, a separate adapter, or a gateway. Match any accessory to the heater’s compatibility documentation rather than its connector shape.
- Identify the official app. Follow the app name or store reference supplied by the manufacturer. Check the publisher before installing; a similarly named app is not proof of compatibility.
- Create or sign into the owner account. Complete any required account verification. Use an account the homeowner controls, not an installer’s personal account.
- Check installation boundaries. If setup requires opening an equipment enclosure, connecting internal wiring, or installing an accessory inside the heater, follow the manufacturer’s requirements for qualified installation.
Expected result: You have the correct app, an owner-controlled account, and documented confirmation that the heater’s installed hardware supports a connection. Do not proceed on the assumption that an accessory works across every model from the same manufacturer.
Home Wi-Fi and device pairing
Prepare the network
- Read the network requirements. Some connected appliances use 2.4 GHz Wi-Fi rather than 5 GHz. Follow the heater or adapter’s requirements; do not assume that a phone connected to the router proves the heater supports the same band.
- Check coverage at the heater. Stand near the equipment with your phone and confirm a stable home-network connection. This is a useful initial check, not a measurement of the heater adapter’s reception.
- Avoid a captive-portal network. A network that requires a browser sign-in is unsuitable unless the manufacturer explicitly supports that setup. Check guest-network isolation if the pairing guide requires the phone and heater to communicate locally.
- Allow required phone permissions. Grant Bluetooth or local-network access when the official pairing instructions require it. These permissions can be necessary for discovery even when normal operation uses Wi-Fi.
Do not weaken router security to make pairing work. Match the documented network requirements, and ask the manufacturer for guidance if the home network cannot meet them safely.
Pair the heater
- Start the app’s device-registration process. Follow the sequence shown in the official guide. Button names vary by app and version, so use the labels displayed in your current app rather than instructions for another model.
- Activate the documented pairing mode. Use the specified external control or accessory procedure. Do not experiment with service-menu combinations or factory resets.
- Supply the requested identifiers. Scan the documented code or enter the requested serial or device identifier. Keep account credentials and registration codes private.
- Select the supported home network. Enter its password carefully, then allow the registration process to finish. Stay in the app until it reports the connection result.
- Name the device clearly. Use a location-based name if the app permits it, particularly when the property has more than one water heater.
Expected result: The correct heater appears in the manufacturer’s app with a current connection status. A device name alone is not enough; registration and live communication are separate checks.
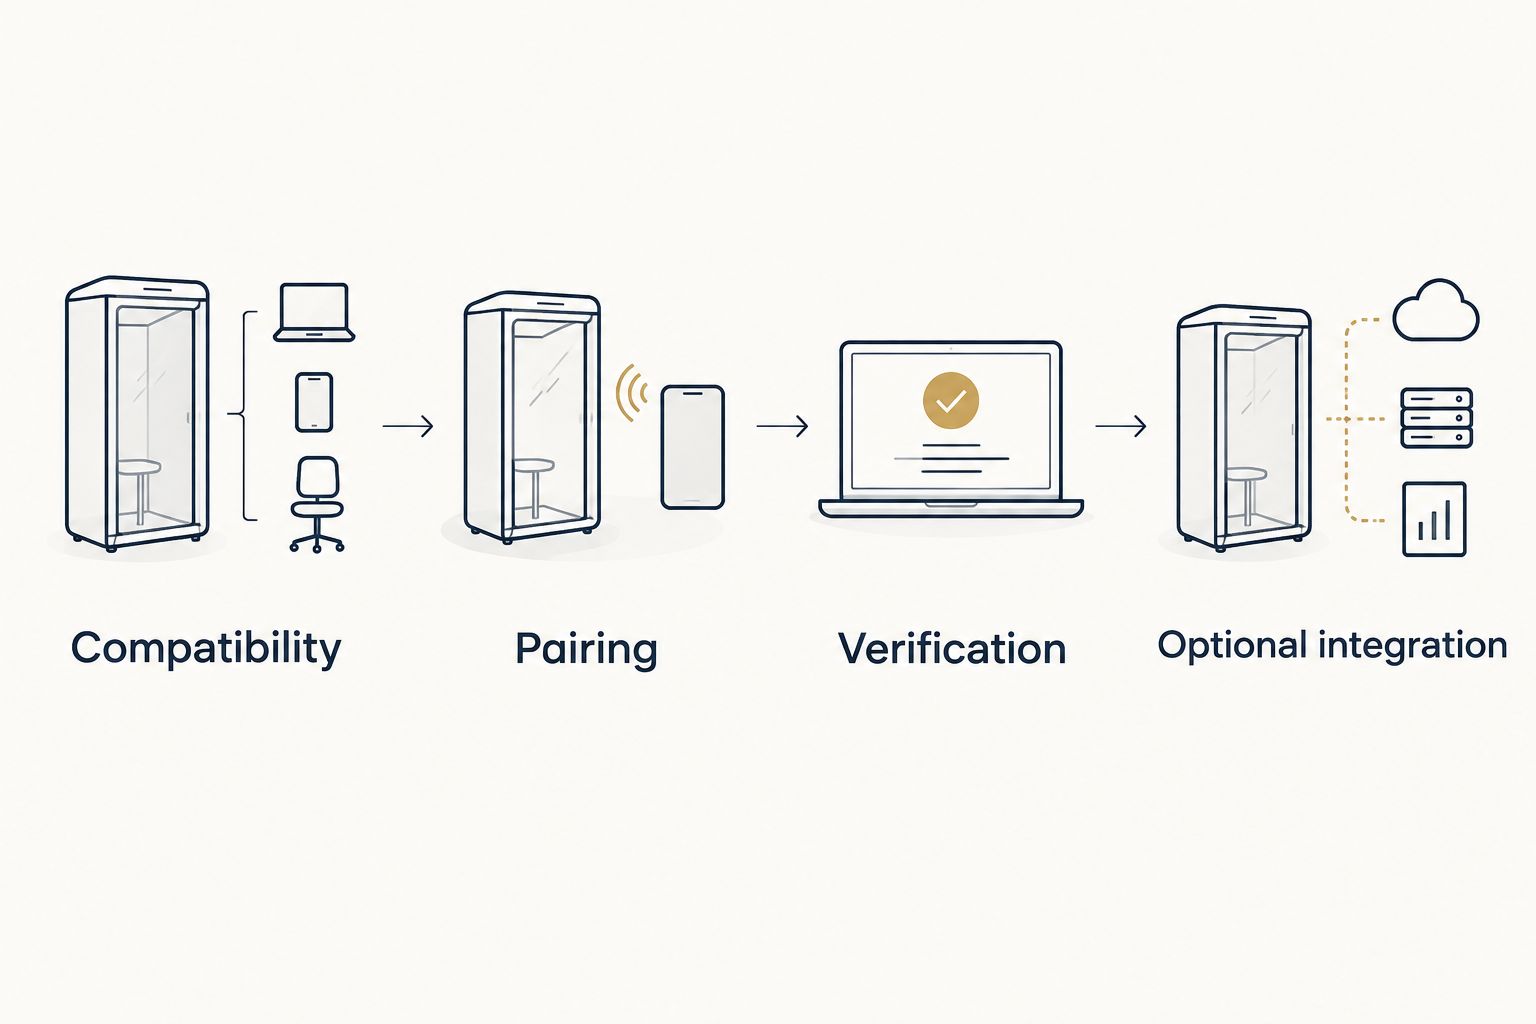
The connection sequence is compatibility first, pairing second, verification third, and optional integration last. Keep that order during a 2026 installation so a smart home account problem does not hide an unresolved heater connection.
App verification and supported controls
- Confirm the device identity. Compare the app’s model or device identifier with the heater or adapter. This matters when an account contains equipment from multiple properties.
- Refresh the status view. Look for a current connection indicator or updated status where the app provides one. Do not mistake an old reading for live communication.
- Test remote access safely. If the manufacturer supports access outside the home network, disconnect your phone from home Wi-Fi and check status over cellular data. Do not make temperature changes just to prove remote access.
- Review supported functions. Identify which controls actually appear: status, notifications, temperature settings, or recirculation controls. Do not assume an absent function exists elsewhere in the app.
- Check notification delivery. Enable the notifications the app supports and review your phone’s notification permissions. Use a built-in test if available; never create a heater fault to test an alert.
Expected result: You can identify the correct heater, distinguish current status from saved information, and access only the functions documented for your equipment.
Keep temperature changes out of the connection test. The U.S. Consumer Product Safety Commission recommends a water-heater setting of 120°F to reduce scald risk. For a 2026 household safety review, follow the heater’s instructions and have a qualified professional assess any special temperature or mixing-valve requirements; an app setting is not a guarantee of outlet temperature.
Smart home account linking
- Confirm explicit integration support. Check current manufacturer documentation for the exact heater, adapter, app, and smart home platform. Wi-Fi support by itself does not establish platform compatibility.
- Start the platform’s documented linking process. Follow its current instructions for connecting the manufacturer’s service. Do not select a similarly named third-party connector without confirming its source and purpose.
- Authorize the correct owner account. Review the requested access and sign into the same manufacturer account that already controls the heater.
- Assign the correct home and room. Give the heater a distinct name and check that it is not confused with another appliance.
- Inspect the available actions. Test a status request first. Use only documented commands and check the heater’s native app to confirm the result.
Expected result: The smart home platform displays the correct heater and performs a supported action. If the platform exposes status but no operating controls, use it for status; do not force unsupported commands through unrelated automation tools.
Second workflow: recirculation on a schedule
Scheduled recirculation is a useful adjacent workflow only when the plumbing, pump, heater, and app support it. An app cannot circulate hot water through a system without compatible recirculation hardware and piping.
For a 2026 routine, establish manual operation before adding automation:
- Confirm the installed recirculation arrangement with the heater manual and your plumber.
- Test the documented recirculation command in the manufacturer’s app.
- Use the manufacturer’s built-in schedule if one is supported.
- If an officially supported smart home integration exposes recirculation, create a routine using that specific action.
- Check the saved schedule and confirm actual operation during its intended window.
Best for: Households with a compatible recirculation system and predictable hot-water use. The benefit is scheduled operation; the trade-off is that unnecessary circulation can increase energy use and heat loss from piping.
Do not substitute a generic smart plug for a documented heater-control interface. Cutting power is not equivalent to requesting recirculation, changing a setting, or safely controlling the appliance.
Troubleshooting
The app cannot discover the heater
Confirm that the correct accessory is installed and pairing mode is active. Check the app’s required Bluetooth and local-network permissions, then repeat the documented discovery process. Use the pairing procedure—not an undocumented factory reset.
Wi-Fi registration fails
Recheck the password, supported Wi-Fi band, and router security requirements. A 2.4 GHz-only adapter cannot join a 5 GHz-only network. If a guest network isolates devices, follow the manufacturer’s network guidance rather than disabling protections indiscriminately.
Registration reports an existing owner
Ask the previous owner to remove the device through the manufacturer’s documented transfer process. If that is not possible, contact manufacturer support with the requested ownership information. Do not share the previous owner’s credentials.
The native app works but smart home linking fails
Confirm that the integration supports your exact equipment and that you authorized the correct account. Remove and reconnect the platform authorization only through its documented procedure. Do not reset a working heater connection to troubleshoot an unrelated account link.
The heater is online but a feature is missing
Check whether the feature requires additional hardware or is unsupported on the model. An online indicator confirms communication, not recirculation equipment, leak sensors, or remote temperature control. For equipment faults or physical installation concerns, Imperium Electric LLC provides licensed plumbing and electrical services; app-account issues belong with manufacturer support.
Customize your workflow
Finish your 2026 setup by deciding who needs access and which notifications deserve attention. Use supported household-sharing features instead of sharing an account password. Remove access when a property changes hands, and retain the model number and connection guide with your home records.
Keep maintenance separate from connectivity. Imperium Electric LLC’s plumbing services address the physical system; a connected app does not replace inspection or manufacturer-required maintenance. Review how to flush a tankless water heater at home before planning maintenance, and follow the instructions for your equipment.
Request water heater service
Discuss tankless water heater plumbing or electrical work for your Treasure Coast property.
FAQ
What’s the best smart tankless water heater app for my heater?
Use the app specified by your heater’s manufacturer for the exact model and connectivity accessory. A general smart home app is a second connection layer, not a replacement for the supported pairing process.
Can I connect any tankless water heater to Wi-Fi?
No, the heater needs documented connectivity support and any required compatible hardware. Installing an app does not add networking capability to an unsupported heater.
Do I need 2.4 GHz Wi-Fi for a tankless water heater?
Use the Wi-Fi band specified in the heater or adapter’s connection guide. Some connected appliances require 2.4 GHz and cannot join a 5 GHz-only network.
Can I control my tankless heater with a voice assistant?
Only if the manufacturer supports that integration for your exact equipment. Confirm which commands are supported; device discovery does not guarantee temperature or recirculation control.
Will connecting an app make hot water arrive faster?
App pairing alone does not make hot water reach a fixture faster. Faster delivery requires a suitable physical arrangement, such as a compatible recirculation system, rather than connectivity alone.
Why does my heater app say the device belongs to someone else?
The heater or connectivity accessory is still associated with another account. Follow the manufacturer’s ownership-transfer process or contact its support team with the requested ownership information.
Can I use a smart plug to make my water heater smart?
Do not use a generic smart plug as a substitute for the manufacturer’s supported control interface. Switching appliance power is not the same as issuing a documented operating command.
Who should handle wiring or plumbing needed for app connectivity?
Use a qualified professional when the manufacturer requires installation work involving wiring, internal connections, or plumbing. Imperium Electric LLC provides licensed electrical and plumbing services for Treasure Coast residential and commercial customers.
One last thing
Check the meaning of every reading before relying on it. A temperature shown in an app can represent a setpoint rather than measured water temperature at a faucet. Identify what the screen reports, keep local controls accessible, and treat notifications as information—not a substitute for investigating a leak or equipment fault.