Flushing a tankless water heater clears the calcium and mineral scale that Florida's hard water leaves inside the heat exchanger, and most homeowners can do it in under an hour with a small pump kit and four gallons of white vinegar.
- Flushing a tankless water heater removes scale buildup; Treasure Coast homes on hard water need it every 12 months, every 6 months on well water.
- A 4-gallon distilled white vinegar flush circulated for 45-60 minutes clears calcium deposits without pulling the unit apart.
- Skip a flush past 18 months and expect reduced hot water flow, recurring error codes, and a shortened heat exchanger life.
- DIY works when isolation valves are already installed; call a licensed plumber when valves are missing, corroded, or seized.
Why this matters
A tankless water heater runs incoming water through a narrow heat exchanger every time you open a hot tap, and that exchanger scales up fast when the water is hard. Florida's hard water is common across Port St. Lucie, Stuart, and Jensen Beach, and mineral deposits inside the exchanger act like insulation - the unit works harder to hit the same temperature, uses more gas or electricity, and eventually throws an error code and shuts down.
Manufacturers including Rinnai and Navien specify annual descaling in hard water regions as a condition of the heat exchanger warranty. Skip it for a couple of years in 2026 and you're not just losing efficiency, you're risking a repair bill that a $40 pump and a jug of vinegar would have prevented.
What you'll need
- Submersible utility pump, 1/6 HP or similar (sold in tankless flush kits)
- Two hoses with standard garden-hose threading
- A clean 5-gallon bucket
- 4 gallons of distilled white vinegar or a manufacturer-approved descaling solution
- Adjustable wrench
- Towels or rags for drips
- Flashlight to check the isolation valve ports
If your unit doesn't already have hot and cold isolation valves installed at the water heater, you can't do this flush yourself - those valves have to be added first, which is a job for a licensed plumber, not a DIY afternoon.
The steps
1. Shut off power and close the gas or electric supply
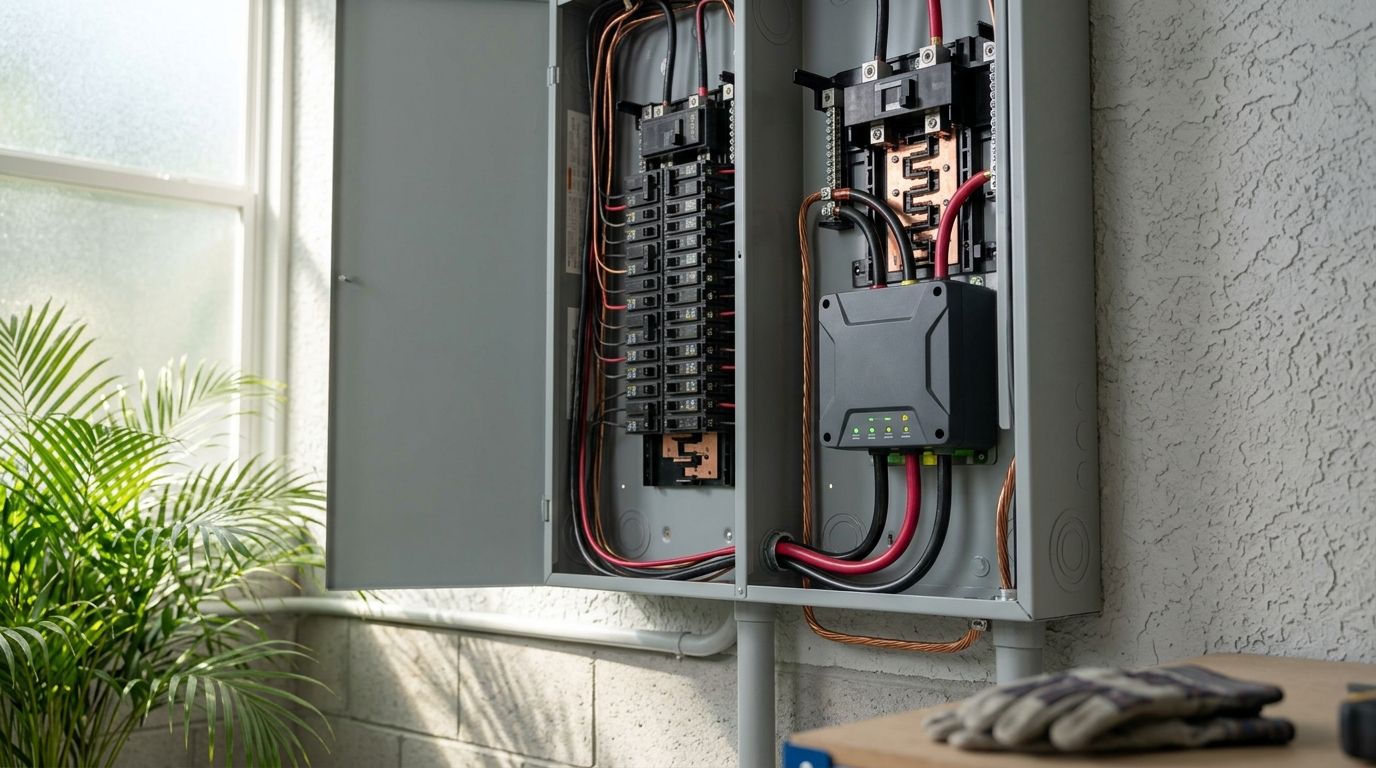
Cut power at the breaker for electric tankless units, or turn the gas valve to off for gas-fired models. This isolates the unit before you touch any water connections and it's non-negotiable - working on a live heat exchanger is how people get burned. Wait 5 minutes after shutoff before moving to the next step so any residual heat clears.
2. Close both isolation valves
Locate the hot and cold service valves on the unit and turn both to the closed position, then close the valve on the gas line or the cold water inlet feeding the house. Common mistake: closing only one valve and flooding the flush loop when you connect the pump. Confirm both handles are perpendicular to the pipe before continuing.
3. Connect the hoses and submersible pump
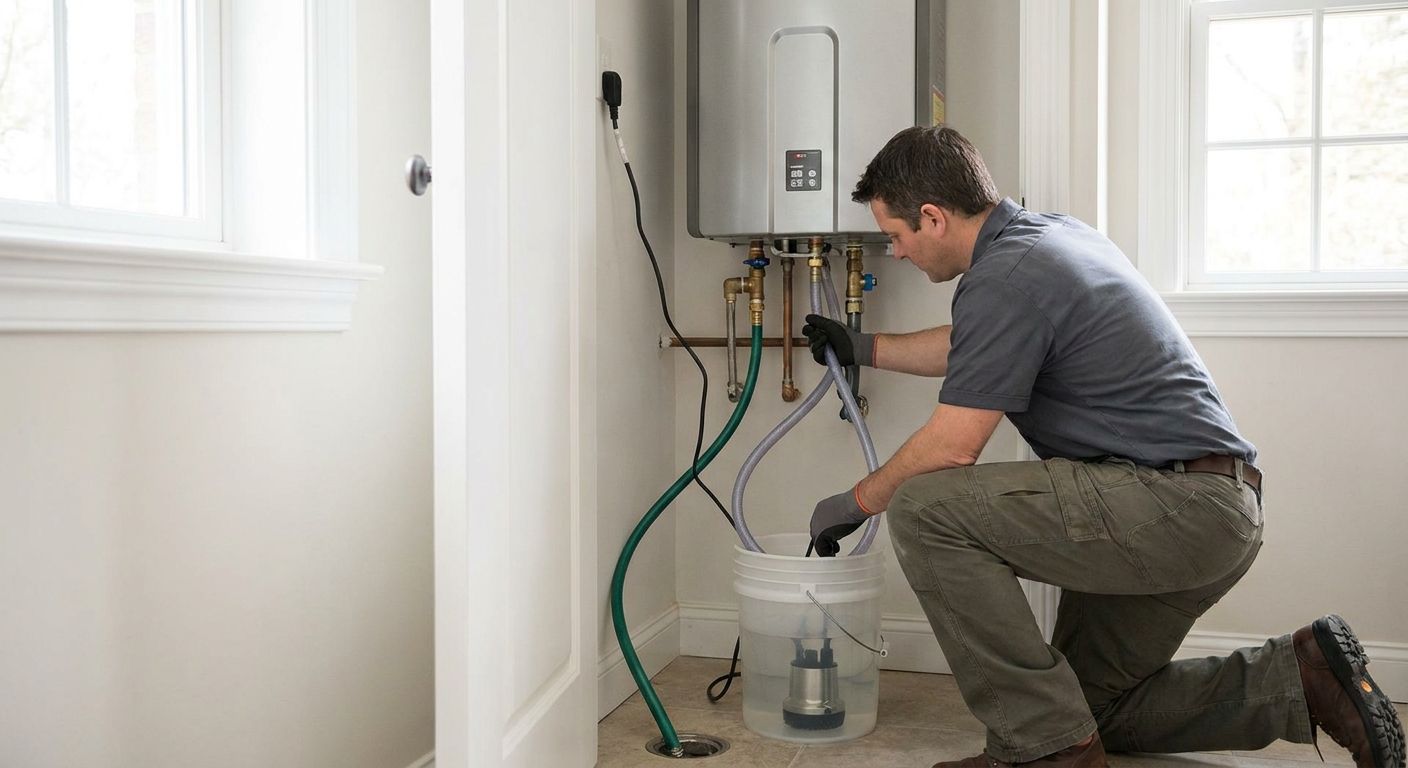
Attach one hose to the cold water service valve and run it into your bucket. Attach the second hose to the hot water service valve port and place the submersible pump in the bucket, connected to that same hose. This creates a closed loop: vinegar goes out through the pump, through the unit, and back into the bucket.
4. Fill the bucket with descaling solution
Pour 4 gallons of distilled white vinegar into the bucket - that's the standard volume for most residential tankless units. Don't substitute bleach or ammonia-based cleaners; vinegar's mild acidity dissolves calcium scale without corroding the copper or stainless components inside the heat exchanger.
5. Circulate the vinegar for 45 to 60 minutes
Open both service valves and switch on the pump. Let the vinegar circulate through the heat exchanger for a full 45 to 60 minutes - anything shorter leaves scale behind, especially in units that haven't been flushed in over a year. You should see the returning vinegar turn slightly cloudy as it picks up dissolved minerals; that's the process working.
6. Flush the lines with clean water
Turn off the pump, disconnect the hose from the cold valve, and remove the pump from the bucket. Open the cold water isolation valve fully and let clean water run through the unit and out the hot side hose for 5 to 10 minutes to clear every trace of vinegar. Common mistake: skipping this step and leaving acidic residue in the lines, which can irritate skin and leave a sour smell at the tap.
7. Reopen the valves and restore power
Close both service valves, disconnect the hoses, and reopen the main hot and cold valves to the house. Restore gas or electric power, then run a hot tap for two minutes to purge any trapped air before checking every connection point for drips. Expected outcome: hot water returns to full flow within minutes and any prior lukewarm-water complaints improve immediately.
If your unit was installed by a contractor rather than DIY-plumbed, this is also a good moment to confirm the isolation valves match the setup used on a proper tankless water heater installation for Treasure Coast homes - some older retrofits skip the valves entirely, which means every future flush requires a plumber.
Skip the DIY flush this year?
Imperium Electric services tankless water heaters across the Treasure Coast.
Troubleshooting
Pump won't circulate or the loop shows no flow. Check that both isolation valves are fully open - a half-turned valve chokes the loop and the pump will just recirculate against a closed line. Reseat the hose connections too; a loose garden-hose fitting drops pressure enough to stall flow.
Error code stays on after the flush. Some codes clear only after a full power cycle, not just a flush. Cut power at the breaker for 60 seconds, restore it, and run a hot tap before assuming the flush failed.
Water still looks discolored days later. Sediment loosened during the flush can sit in downstream fixtures for a day or two. Run each hot tap in the house for a minute; if discoloration persists past 48 hours, that points to a pipe issue rather than the heater, and it's worth checking for a hidden water leak elsewhere in the system.
Leak at a hose connection. Tighten with an adjustable wrench, but don't overtighten plastic garden-hose threads - stripped threads are worse than a slow drip. Replace the hose if the fitting is cracked.
Flow and temperature don't improve after flushing. If you flushed correctly and hot water pressure is still weak, the scale buildup may be beyond what a vinegar flush clears, or the issue isn't scale at all. That's the point to stop troubleshooting solo and call in emergency plumbing help in Stuart, FL before the unit fails outright.
Tools and resources
- Submersible pump flush kit (rated for tankless descaling)
- Distilled white vinegar, 4 gallons per session
- Adjustable wrench and towels
- Manufacturer manual for your specific model's isolation valve layout
- A licensed plumber on call for units without existing service valves
What to do next
Once the flush is done, mark the date on your calendar and set a reminder for 12 months out - or 6 months if you're on well water. If your current unit is past 10 years old or keeps throwing scale-related codes even after regular flushing, it may be more cost-effective to replace it than keep descaling a failing heat exchanger.
FAQ
How often should you flush a tankless water heater in Florida?
Flush a tankless water heater every 12 months if you're on hard city water, and every 6 months if you're on well water. Florida's mineral-heavy water scales heat exchangers faster than soft-water regions, so skipping a year shows up as reduced flow and error codes.
Can you flush a tankless water heater yourself?
Yes, if the unit already has hot and cold isolation valves installed - the job takes about an hour with a submersible pump and 4 gallons of vinegar. If those valves aren't present, a licensed plumber needs to add them first.
What kind of vinegar do you use to flush a tankless water heater?
Distilled white vinegar is the standard choice because its mild acidity dissolves calcium scale without corroding copper or stainless heat exchanger components. Avoid bleach, ammonia, or undiluted industrial descalers unless your manufacturer specifically approves them.
How long does it take to flush a tankless water heater?
The full process takes about 60 to 90 minutes: 45 to 60 minutes of vinegar circulation plus setup, clean-water flushing, and reassembly. Units that haven't been flushed in over a year may need the full hour of circulation to clear heavier scale.
What happens if you never flush a tankless water heater?
Scale builds inside the heat exchanger, cutting hot water flow, triggering recurring error codes, and increasing energy use as the unit works harder to hit temperature. Left unaddressed for years, it can shorten the heat exchanger's life and void the manufacturer's warranty.
Is CLR safe for flushing a tankless water heater?
Most manufacturers specify distilled white vinegar rather than CLR for descaling, since some CLR formulas are more aggressive than what's approved for internal components. Check your unit's manual before substituting any solution other than the one it recommends.
Do tankless water heaters need isolation valves to flush?
Yes, hot and cold isolation valves are required to create the closed loop a flush needs - without them, you can't circulate vinegar through the unit safely. Units installed without these valves need a plumber to add them before any flush, DIY or professional.
One last thing
Most homeowners assume a tankless unit that's heating water fine doesn't need attention - it's the flow rate, not the temperature, that drops first when scale builds up, so by the time you notice a real problem in 2026, the exchanger has likely been scaling for a year or more. Flush on a fixed calendar date instead of waiting for a symptom.