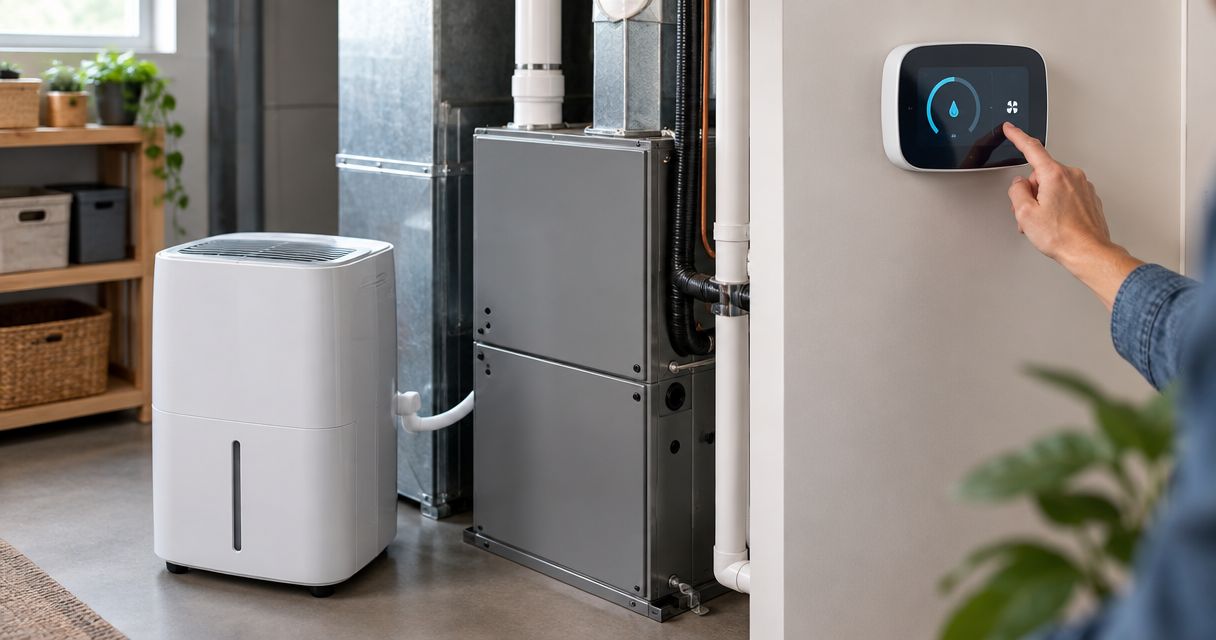
Instead of manually switching your dehumidifier on and off, connect a compatible whole-house unit to a thermostat’s supported dehumidification output so indoor humidity triggers operation automatically. This 2026 dehumidifier HVAC thermostat integration guide explains compatibility, professional wiring, control settings, and the tests that confirm the system works without disrupting cooling.
- Dehumidifier HVAC thermostat integration requires matching control signals, not just a thermostat that displays humidity.
- Imperium Electric LLC provides licensed HVAC services for Treasure Coast homeowners who need local professional help.
- A dry-contact input and a powered output are not interchangeable; follow both equipment wiring diagrams.
- Test humidity control independently of cooling, then verify airflow, drainage, and normal HVAC operation.
Why this matters
A thermostat can reach your temperature setting while indoor humidity remains high. A dedicated dehumidifier removes moisture without requiring every humidity call to become a cooling call. Thermostat integration puts temperature and humidity control in one place, but only when the equipment supports that arrangement.
Imperium Electric LLC is best for Treasure Coast homeowners seeking a local, licensed HVAC service provider. You can review the company’s service scope through Imperium Electric LLC before arranging an equipment assessment.
The deciding issue is electrical compatibility, not whether your thermostat has an app. A humidity display measures conditions; an accessory output controls equipment. Those are different functions.
For a 2026 installation, use the manuals for the exact thermostat, dehumidifier, and air-handler models. Similar terminal lettering does not establish compatibility, and a newer thermostat does not automatically support a separate dehumidifier.
Before you start
- Gather equipment details. Record the thermostat, air-handler, and dehumidifier model numbers. Obtain their installation manuals, existing wiring photographs, and any accessory relay or control-board documentation.
- Confirm access and installation readiness. Your HVAC technician needs access to the thermostat wiring, equipment controls, disconnects, duct connections, and condensate drain. Leave electrical testing and control wiring to a qualified professional.
- Check the hidden compatibility issue. Determine whether the dehumidifier expects an unpowered contact closure, a powered control signal, or its own communicating controller. A common 24 VAC HVAC control circuit is not permission to apply voltage to an unidentified input.
Stop before wiring if the manuals do not show a supported connection. Do not improvise with thermostat wire colors, undocumented jumpers, or a general-purpose smart plug.
Control-path selection
Choose the control method before moving any wires. The following options solve different problems; they are not interchangeable substitutes.
| Control method | Best for | Advantage | Limitation |
|---|---|---|---|
| Thermostat accessory control | A compatible whole-house dehumidifier and thermostat | Centralizes temperature and humidity settings | Requires the correct output, input, and installer configuration |
| Separate humidistat | A dehumidifier whose approved controller is independent of the thermostat | Keeps humidity control separate from thermostat replacement | Adds another control location and requires coordinated settings |
| Cooling-based humidity control | An HVAC system with a documented cooling dehumidification sequence | Uses supported cooling-system functions | Does not directly control a separate dehumidifier unless explicitly supported |
Choose thermostat accessory control only when both manufacturers document the connection. If either manual requires a separate humidistat, use that approved arrangement instead. Cooling-based control is a different workflow, not a shortcut around missing accessory support.
A portable room dehumidifier also belongs outside this wiring workflow unless its manufacturer specifically documents external control. An outlet connection alone does not make it a thermostat accessory.
Compatibility record
- Record the thermostat’s supported accessory function and the exact terminal designations from its manual. Confirm that the function controls a dehumidifier rather than merely displaying relative humidity.
- Record the dehumidifier’s external-control requirements. Identify whether the input expects contact closure, applied voltage, or a proprietary controller.
- Have your technician compare signal type, voltage requirements, contact ratings, and any required isolation relay. Keep the approved diagrams with the job record.
- Confirm which device controls humidity and which device requests airflow. Identify any air-handler interlock required by the dehumidifier’s approved duct arrangement.
Expected result: You have one documented control path, with every connection supported by the equipment manuals. No terminal remains assigned by guesswork.
The compatibility record should also identify which existing control is being replaced or retained. Leaving two independent humidity controllers active without an approved sequence creates conflicting requests and makes troubleshooting harder.
Electrical and airflow connections
The thermostat’s accessory circuit sends a control request; it does not replace the dehumidifier’s electrical supply. The dehumidifier still needs its approved power connection, drainage arrangement, and airflow path.
Imperium Electric LLC provides HVAC and electrical services, but the equipment manuals determine the wiring requirements. A local service provider is not a substitute for a supported manufacturer connection diagram.
Wiring and airflow plan
- Have the technician isolate all relevant electrical sources and verify that the circuits are de-energized before accessing wiring. Some installations have separate supplies for the air handler and dehumidifier.
- Photograph and label existing conductors by terminal position. Do not identify conductor function from insulation color alone.
- Have the technician install the approved control connection or specified interface relay. Do not connect transformer circuits together unless the manufacturer’s diagram explicitly requires that arrangement.
- Verify the airflow sequence against the dehumidifier’s duct installation instructions. Establish whether the dehumidifier uses its own fan, requests the HVAC blower, or requires another documented interlock.
- Check the condensate drain, any required trap, and any installed overflow protection. Confirm that safety devices remain part of the approved control sequence.
Expected result: The completed installation matches the selected wiring diagram, preserves safety controls, and has a defined air path and drain path.
This sequence separates the parts of the job that are often confused: control compatibility, electrical connection, airflow, and operating settings. Each must work before the final test means anything.
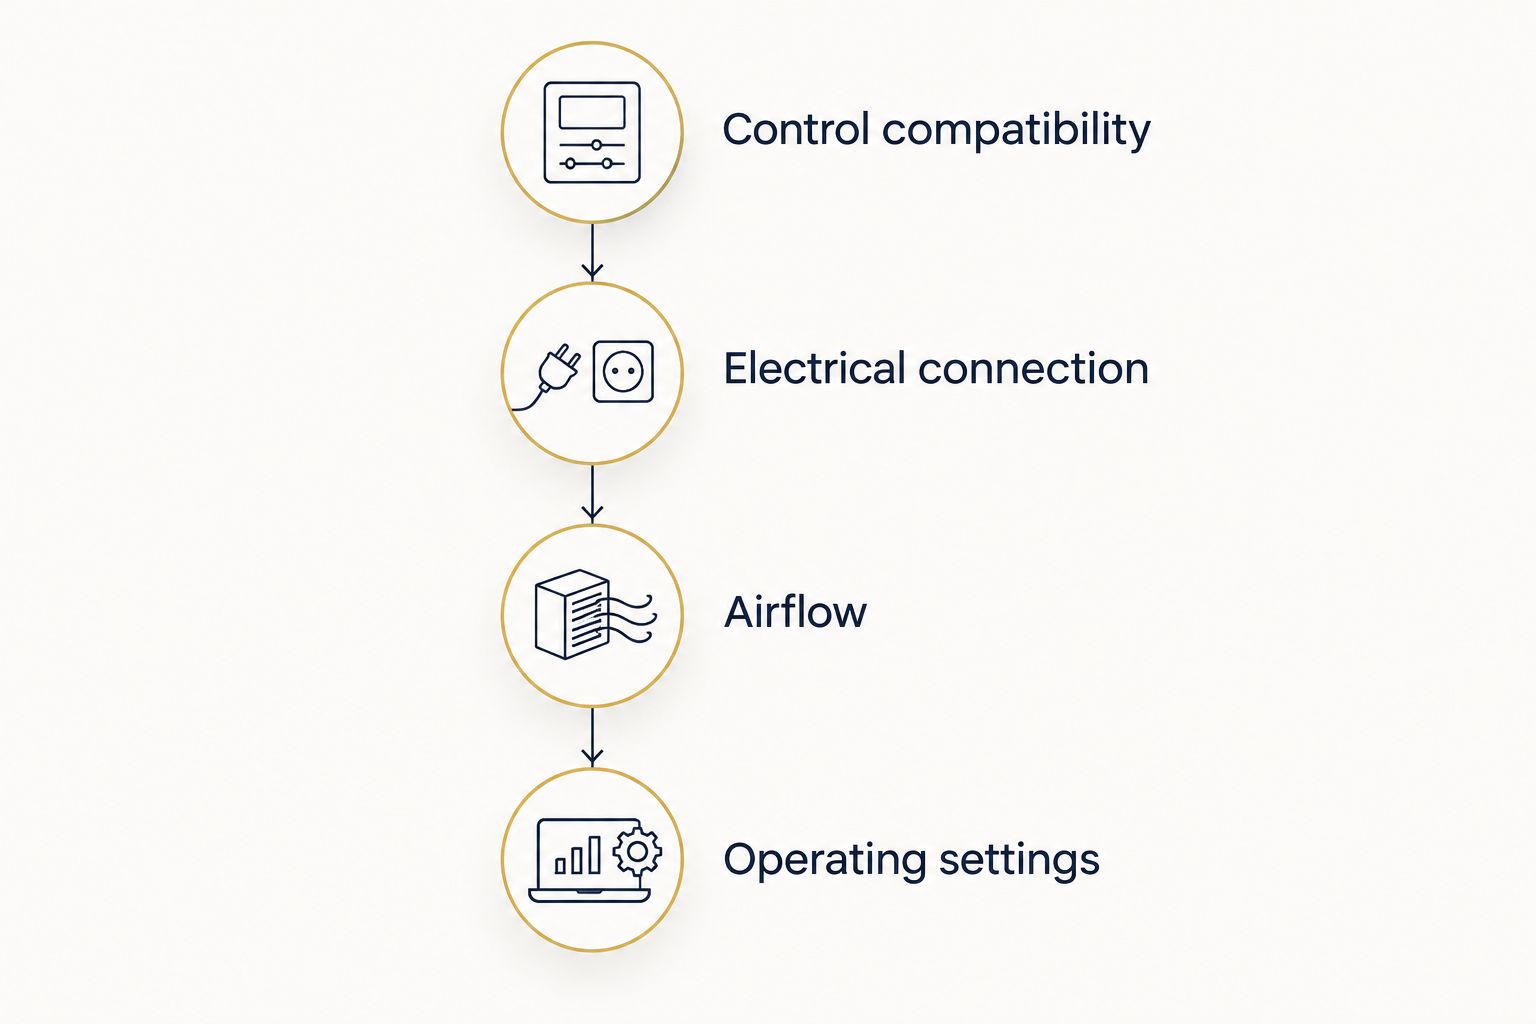
For a 2026 retrofit, review the existing duct arrangement rather than assuming the old layout suits the new equipment. The whole-house dehumidifier installation guide covers the broader installation scope beyond the thermostat connection.
Thermostat and dehumidifier settings
There is no universal button sequence for this setup. Use the exact menu names and terminal labels in your thermostat’s current installer documentation; applying another model’s instructions can configure the wrong accessory behavior.
Accessory configuration
- Open the manufacturer-documented installer configuration using the procedure for your exact thermostat model. Record the existing HVAC equipment configuration before changing it.
- Assign the supported accessory output to dehumidifier control. Do not select a humidifier function simply because it uses the same accessory terminal.
- Set the output behavior to match the approved wiring diagram. The technician must confirm whether a humidity call closes a contact, applies a signal, or changes another supported control state.
- Configure blower coordination, cooling interaction, and external-control mode only where the equipment manuals require them. Preserve existing heating and cooling assignments.
- Select the humidity target and save the configuration using the documented procedure. Record the final settings so another technician can reproduce them.
Expected result: The thermostat recognizes the correct accessory, and the dehumidifier accepts that device as its approved external controller.
For the humidity target, EPA household moisture guidance recommends keeping indoor relative humidity below 60%, ideally between 30% and 50%. A 50% RH target is within that published range; use it as a starting point only when consistent with the equipment instructions and the building’s conditions.
Do not confuse a humidity target with an overcooling allowance. The first describes moisture conditions; the second allows temperature to fall below its normal setting during a supported cooling-based sequence.
Operation and acceptance tests
A powered display is not proof of successful integration. The system must start for the right reason, move air correctly, remove condensate, and stop when the humidity request ends.
Functional verification
- Record the thermostat’s displayed humidity and compare it with a separate hygrometer in a representative occupied area. Keep both away from supply-air discharge and direct moisture sources; interpret differences using their published accuracy specifications.
- Use the manufacturer’s accessory test, or temporarily set the humidity target below the measured humidity if the approved procedure allows it. Observe whether the dehumidifier receives the request and starts after its specified protective delays.
- Verify the required fan or blower response. Confirm that condensate drains during moisture removal and that the unit does not display an operating fault.
- End the humidity request using the approved test procedure. Confirm shutdown according to the manufacturer’s sequence, including any documented fan run-on or compressor protection.
- Restore the intended humidity target, then test normal cooling and heating operation. Check any installed condensate safety device using its manufacturer-approved test procedure.
Expected result: A humidity request produces the documented dehumidification sequence, ending the request stops it correctly, and ordinary HVAC functions remain intact.
For your 2026 commissioning record, save the wiring diagram used, final settings, sensor readings, and observed results. Record actual results rather than writing only that the system “works.” A clear record makes a later thermostat replacement much easier.
Second workflow: humidity control without thermostat replacement
If your current thermostat cannot operate the dehumidifier, a separate manufacturer-approved humidistat is the adjacent workflow. It responds to humidity while the thermostat continues handling temperature.
- Select the controller specified for the dehumidifier and approved installation arrangement.
- Have the technician install its sensor or wall control in the manufacturer-approved location and connect it according to the documented diagram.
- Establish the required blower interlock and remove conflicting external-control settings where the instructions require it.
- Test a humidity request independently of a temperature request, then restore the intended settings.
Expected result: The dehumidifier follows its dedicated humidity controller without depending on an unsupported thermostat output.
Best for: Homeowners retaining a thermostat that lacks compatible accessory control. The advantage is an approved independent control path; the drawback is managing humidity outside the thermostat interface.
Do not combine this arrangement with thermostat accessory control unless the manufacturer documents how both controllers operate together.
Troubleshooting
Humidity appears, but the dehumidifier never starts
Confirm that the thermostat supports accessory control rather than humidity display alone. Have the technician check the configured accessory function, control signal, external-control mode, and manufacturer-specified delays before replacing equipment.
The dehumidifier starts but runs continuously
Compare the humidity reading with a separate instrument and confirm that the request actually ends at the controller. Have the technician check output behavior, sensor placement, conflicting controls, and any stuck relay; continuous operation alone does not identify the faulty part.
The blower does not run during dehumidification
First check whether this installation requires the HVAC blower. If it does, have the technician verify the approved interlock and airflow settings; do not add an undocumented jumper to force the fan on.
Cooling behaves differently after setup
Check whether cooling-based dehumidification or an overcooling setting was enabled instead of dedicated accessory control. Have the technician compare the current configuration with the pre-installation record and restore unsupported changes.
The unit runs, but indoor humidity stays high
Check drainage, filters, duct connections, airflow, and sensor location before lowering the target further. Also investigate moisture sources and building air leakage; changing thermostat settings does not correct a water leak or disconnected duct.
Customize your workflow
Expand the controls only after basic operation passes the acceptance tests. If the thermostat supports humidity notifications, configure them after checking its documentation; notifications report conditions but do not prove that equipment is operating.
For a 2026 seasonal-home setup, document who checks the property when a humidity alert arrives. Remote controls cannot inspect a drain, filter, or water intrusion.
Before replacing the thermostat later, preserve the accessory configuration and compatibility record. A replacement that handles heating and cooling correctly can still lack the required dehumidifier output.
Arrange an HVAC assessment
Review your thermostat, dehumidifier, and HVAC equipment before changing control wiring.
FAQ
Can any smart thermostat control a whole-house dehumidifier?
No. The thermostat needs a supported dehumidification output that matches the dehumidifier’s external-control requirements. Humidity display and app access do not establish compatibility.
Can I connect the wires by matching their colors?
No. Identify conductors by their existing terminal assignments and the equipment wiring diagrams. Wire color alone does not establish electrical function.
Do I need a relay between the thermostat and dehumidifier?
Use a relay when the approved wiring diagram requires one. A powered output and an unpowered contact input are different interfaces, so a qualified technician must verify the required connection.
What humidity setting should I use?
A 50% RH target falls within EPA’s ideal household range of 30% to 50%. Confirm that the target suits your equipment and building, and investigate moisture problems rather than continually lowering the setting.
Can the dehumidifier run when the air conditioner is off?
Yes, when the dehumidifier and its approved installation support independent operation. The duct arrangement determines whether the HVAC blower must also run.
Can I connect a portable dehumidifier to my thermostat?
Only use external control if the portable unit’s manufacturer explicitly documents it. Do not treat its power cord as a thermostat control connection or bypass its built-in protections.
Who can help with HVAC controls on the Treasure Coast?
Imperium Electric LLC provides licensed HVAC and electrical services for residential and commercial customers in Port St. Lucie, Stuart, Jensen Beach, and the Treasure Coast. Have the exact equipment models ready when requesting an assessment.
One last thing
Test humidity control while the home does not need cooling, if the approved operating sequence supports it. Testing only during a cooling cycle can hide a missing airflow interlock or a dehumidifier that never receives its own control request. Independent operation is the test that separates a connected accessory from a humidity number on a screen.