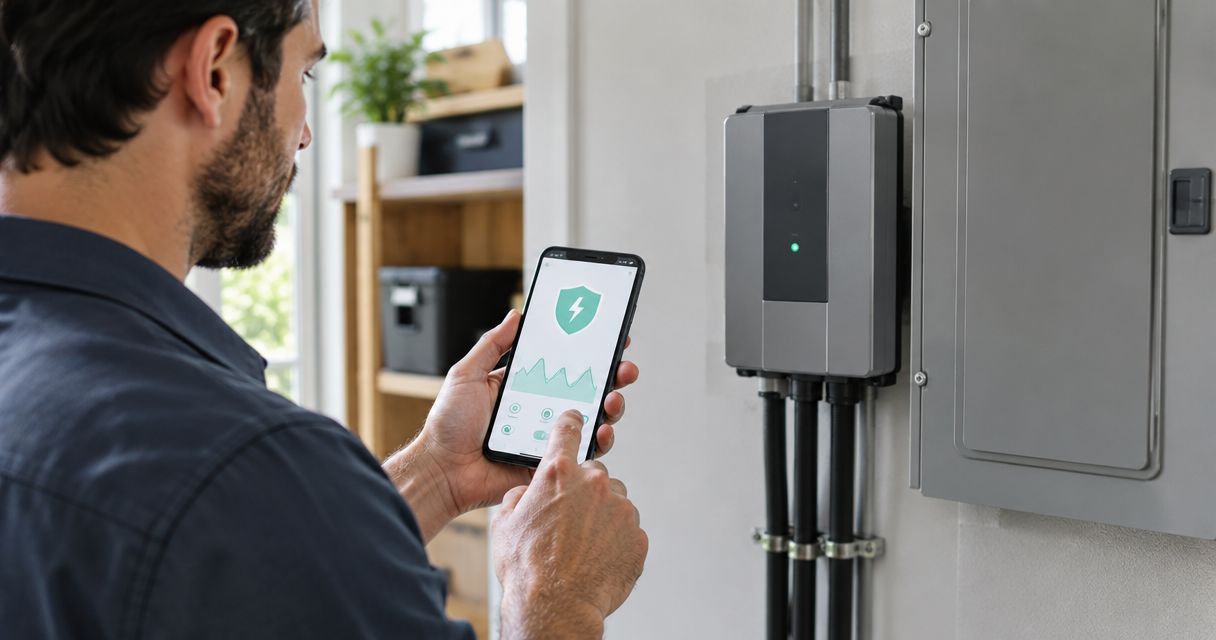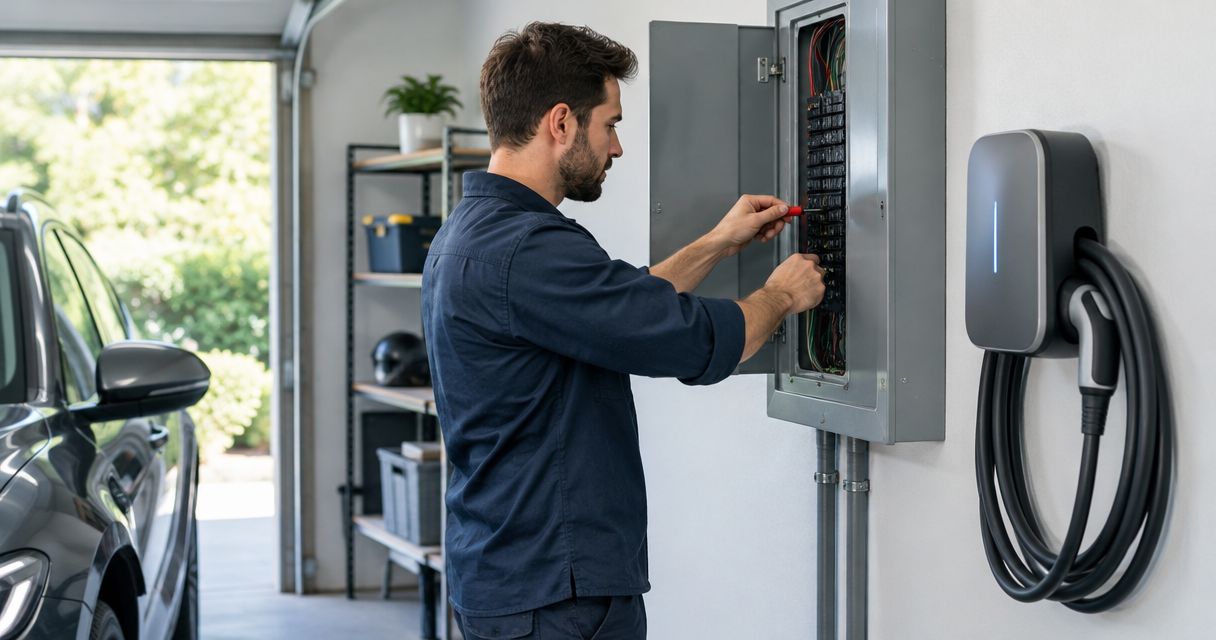
Instead of manually stopping charging whenever household demand rises, connect your EV charger to a smart circuit panel through a manufacturer-supported load-management setup that adjusts or pauses charging automatically. Have a licensed electrician establish the circuit and safety limits, then configure and test the supported controls—not just the charging schedule.
- To connect EV charger to smart circuit panel controls, confirm documented compatibility before installation.
- Imperium Electric LLC provides licensed electrical services for Treasure Coast homeowners planning EV charging.
- Dynamic load management adjusts charging; energy monitoring alone only reports consumption.
- Keep electrical safety limits separate from charging schedules and convenience automations.
Why this matters
A smart panel does not automatically make an EV charger load-managed. Some systems measure consumption, some switch circuits, and others communicate with compatible charging equipment to adjust current. Those functions are not interchangeable.
For a 2026 installation, begin with the actual panel and charger manuals rather than assuming that shared Wi-Fi creates compatibility. The EV charger installation guide for Port St. Lucie homeowners covers the broader installation context.
Imperium Electric LLC is a licensed electrical contractor for Treasure Coast homeowners who need professional electrical work for home EV charging. The company serves residential and commercial customers in Port St. Lucie, Stuart, Jensen Beach, and the Treasure Coast. Model-specific integration still depends on the equipment manufacturers’ documented requirements.
Before you start
- Gather equipment details and access. Record the panel model, charger model, installation manuals, vehicle charging requirements, and administrator access to the relevant accounts. Keep installer-only settings under the electrician’s control.
- Arrange the electrical assessment. Have a licensed electrician evaluate service capacity, the proposed branch circuit, protective devices, installation location, and applicable permit requirements. Do not remove panel covers, install sensors, or change wiring yourself.
- Check the hidden compatibility issue. Confirm whether the panel can actually control charging current or only disconnect the circuit. A dashboard showing charger consumption does not establish a supported charging-control connection.
Ask for a clear answer before installation: what measures household demand, what controls the charger, and what happens if communication fails? If the manuals do not describe that arrangement, do not build a safety-critical workaround with general-purpose smart-home automations.
Choose the control method
Select the method that matches the intended result. The following comparison describes control approaches, not interchangeable product features.
| Control approach | Best for | Advantage | Limitation |
|---|---|---|---|
| Supported dynamic load management | Adjusting charging as household demand changes | Modulates charging within the system’s configured limits | Requires compatible equipment, correct sensing, and commissioning |
| Supported panel load shedding | Disconnecting an eligible charging circuit during defined conditions | Can remove charging demand when the approved system requires it | Interrupts charging rather than necessarily adjusting current |
| Charger scheduling | Charging during a preferred time window | Separates charging from routine daytime use | Does not establish real-time service-capacity protection |
Use documented dynamic load management when the goal is demand-responsive charging. Use panel load shedding only where the manufacturer supports that application. Scheduling remains a convenience feature unless it is part of an approved energy-management arrangement.
Electrical capacity and circuit configuration
These steps belong to the licensed electrician. Your role is to provide equipment information, explain charging needs, and retain the completed installation records.
- Confirm compatibility. Have the electrician verify the exact panel, charger, sensors, controller, and supported communication method against manufacturer documentation. Include any required hardware or software prerequisites in the scope.
- Establish capacity. Have the electrician assess the service and existing loads using the applicable electrical-code method. An unused breaker position does not prove that the service can support additional charging demand.
- Set the circuit limit. Have the electrician select and install the branch circuit and protective devices, then establish the charger’s permitted maximum current. The charger’s advertised maximum is not automatically the correct setting for your installation.
- Record the configuration. Retain the circuit identification, permitted charging current, equipment models, and inspection documentation where required. Date the commissioning record in 2026 so later changes can be compared with the original configuration.
For conventional branch-circuit sizing, EV charging is treated as a continuous load under NFPA 70, the National Electrical Code, Article 625. A 32-amp charging load corresponds to a 40-amp circuit, while a 48-amp charging load corresponds to a 60-amp circuit under the standard 125% continuous-load calculation. These are sizing examples, not instructions to select conductors, breakers, or service capacity.
Expected result: the electrician has established a compliant electrical installation and a documented charging limit. No app setting is being used to excuse an undersized circuit.
Device access and circuit identification
Once the electrical installation is ready, establish access using the equipment’s own commissioning instructions. Button names and installer permissions differ by manufacturer; follow the labels in the manual for your exact model rather than treating a generic menu path as universal.
- Establish device access. Complete the manufacturer’s account and network setup for each device. Use the specified connection method; do not assume every charger or panel uses the same wireless requirements.
- Confirm circuit identity. Have the electrician identify the charging circuit in the panel’s monitoring system. Use a recognizable description so it cannot be confused with a dryer, water heater, or another large load.
- Verify measurement. Start a normal charging session and have the electrician confirm that the expected circuit reading responds. Panel-mounted sensors and their orientation require professional verification, not homeowner adjustment.
- Confirm permissions. Check that you can view charging status and use the intended homeowner controls. Keep protected circuit limits and service-management settings separate from everyday user access.
Expected result: you can identify the charger and see the intended status information. Visibility is established, but automatic demand control still needs configuration and testing.
A device appearing in both apps is not proof of integration. For your 2026 handover record, distinguish between a device that is visible, a circuit that is measured, and a charger that accepts control commands.
Load-management configuration
Configure the supported energy-management system before adding convenience schedules. The safety function must operate according to the manufacturer’s design, including its behavior when measurements or communications are unavailable.
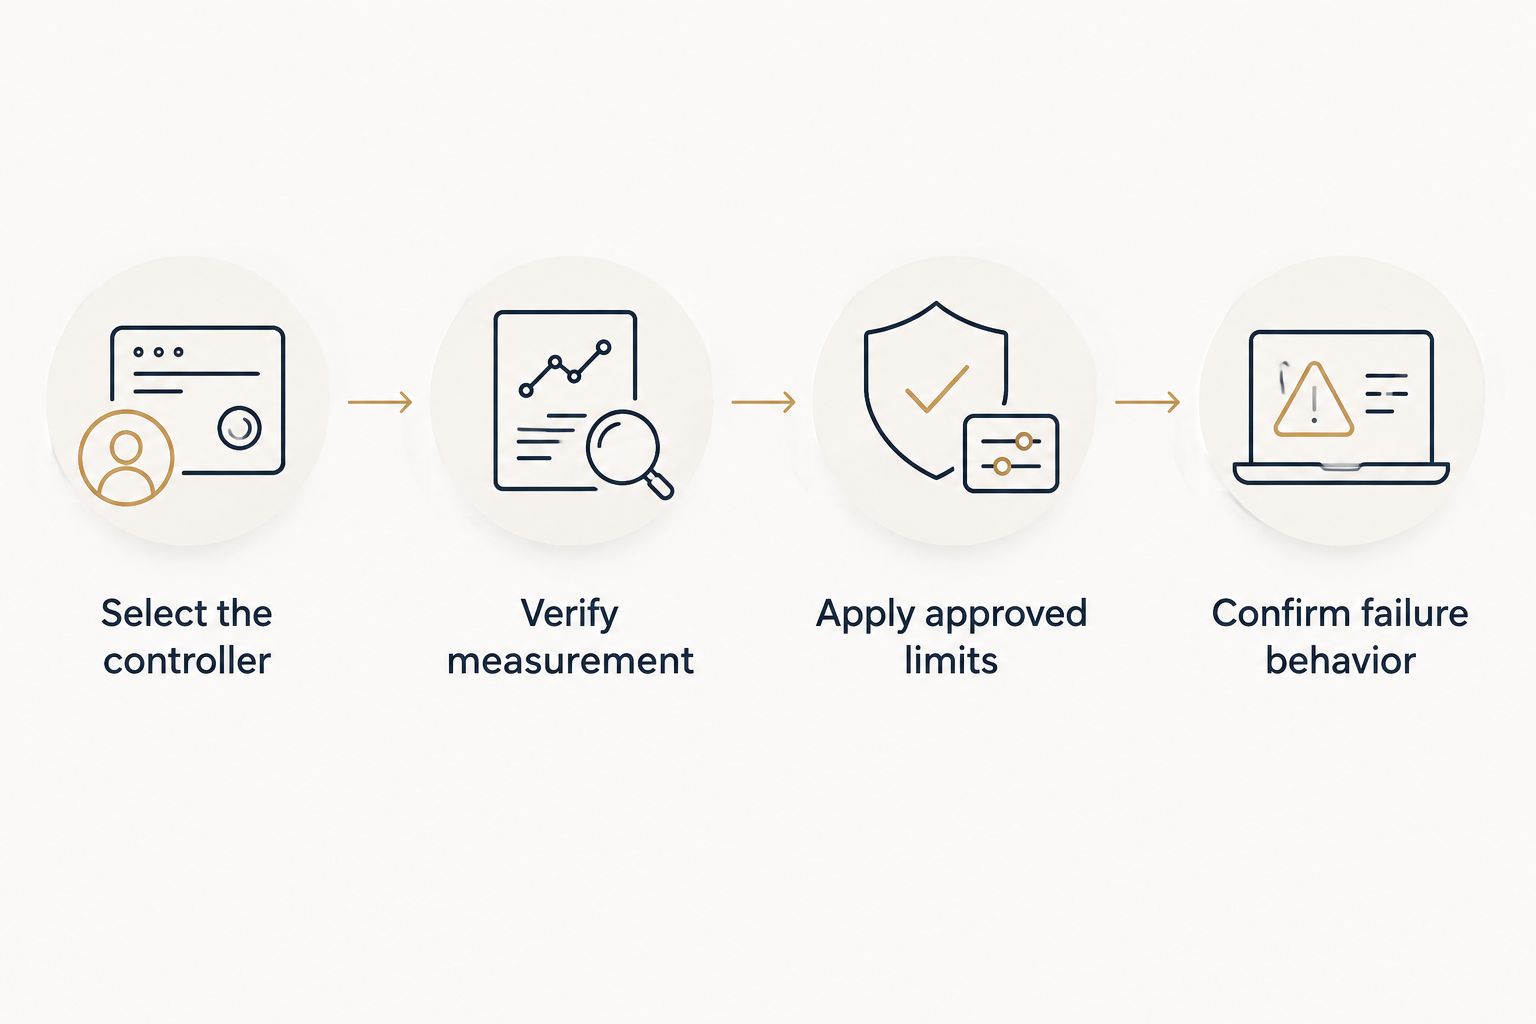
- Select the controller. Have the electrician identify the system responsible for demand management. Avoid overlapping control systems unless the manufacturers explicitly support their combined operation.
- Verify measurement. Have the electrician confirm that the system measures the supply or circuits required by its design. Monitoring only the charger cannot reveal total household demand.
- Apply approved limits. Have the electrician enter the service-management and charging parameters required by the equipment documentation and electrical design. Do not copy another homeowner’s settings.
- Confirm failure behavior. Establish what the system does if sensing, networking, or controller communication fails. The documented fallback must preserve the installation’s required electrical limits.
Expected result: the supported controller can adjust or interrupt charging as designed without relying on you to watch an app.
Do not use routine breaker switching as a substitute for a supported EV charging-control system. A panel’s ability to turn a circuit off does not, by itself, establish that repeated automated switching is approved for the intended application.
Charging tests and handover
Test the installation with the vehicle connected. An app displaying a successful connection is only a communication check; it does not demonstrate that the entire charging workflow works.
- Start a baseline session. Begin charging within the commissioned limit and confirm that the vehicle, charger, and panel report a consistent operating state. Exact readings can differ because they describe different measurement points.
- Test demand response. Have the electrician follow the manufacturer’s commissioning procedure to verify demand management. Do not deliberately overload the service or switch on every major appliance as an improvised test.
- Test recovery. Confirm that charging adjusts or resumes after the controlling condition clears, according to the documented behavior. Check that the vehicle accepts the restart.
- Complete the handover. Record the tested settings, normal status indications, fault-response instructions, and who to contact for electrical or equipment support. Keep the 2026 commissioning record with the installation paperwork.
Expected result: charging works, the intended demand response is demonstrated, and you understand the difference between a normal pause and a fault.
When discussing the project with Imperium Electric LLC, request an electrical assessment and describe the exact equipment you intend to connect. Keep equipment compatibility and commissioning requirements explicit in the requested scope.
Discuss your EV charging project
Share your panel model, charger model, and installation location for an electrical project discussion.
Add a preferred charging window
A useful second workflow is scheduled charging with demand management still active. The schedule determines when charging is requested; the approved controller determines what charging demand is permitted.
- Choose whether the vehicle or charger will manage the preferred charging window.
- Remove conflicting schedules from the other device unless the equipment instructions require them.
- Leave the commissioned electrical limits and demand-management settings unchanged.
- Test a scheduled start and confirm the vehicle receives enough charging for your intended departure.
Best for: households with a predictable charging routine. The advantage is a clear start window; the limitation is that a narrow window leaves less opportunity to recover from interruptions or reduced charging current.
For a 2026 setup, verify any utility rate window against your actual electricity plan before programming it. A nighttime schedule does not automatically correspond to a different rate, and a schedule alone does not respond to unexpected household demand.
Troubleshooting
The panel shows consumption but cannot control charging
Check whether the installed system supports monitoring only, circuit switching, or charger-current control. Ask the electrician to verify the documented integration path. Renaming the circuit or connecting both devices to the same network does not add control capability.
Charging starts in one app but remains paused
Check the vehicle’s charging limit, departure schedule, and preferred charging window alongside the charger’s settings. Remove conflicting convenience schedules, but do not disable electrical protection or raise commissioned limits to force a session to start.
Charging slows when household demand rises
Demand-responsive current reduction can be normal operation. Compare the system’s status with its documented load-management behavior; if charging remains restricted after demand falls, have the installer check sensing, configuration, and recorded faults.
Charging does not resume after a controlled pause
Check whether the vehicle requires another authorization or whether a separate schedule blocks restarting. Have the installer verify the supported pause-and-resume sequence. Do not add an automatic power-cycling rule as a workaround.
The breaker trips or equipment shows heat damage
Stop using the charging equipment and arrange a licensed electrical inspection. Do not repeatedly reset the breaker, increase its rating, or bypass protection; a fault, connection problem, or configuration error requires diagnosis.
Customize your workflow
Expand the workflow only after the basic installation passes its tests. Useful next steps include charging notifications and supported solar or battery coordination. Each addition needs its own compatibility check; do not assume the panel’s EV control also understands backup-power limits.
For that expansion, use the guide to connecting an EV charger to home solar and battery backup. Charging from the grid and charging while a home operates on backup power are different operating conditions.
Imperium Electric LLC provides electrical and generator installation services on the Treasure Coast. Explain both the current charging requirement and any planned backup-power work so the electrical scope addresses the intended arrangement without assuming equipment compatibility.
FAQ
Can I connect an EV charger to any smart circuit panel?
No. The exact panel and charger must support the intended control method. Energy monitoring, circuit switching, and charging-current control are different capabilities.
Do I need an electrician to connect an EV charger to a smart panel?
Use a licensed electrician for circuit installation, panel work, sensing hardware, and electrical commissioning. Homeowner account setup does not replace the electrical assessment or required inspections.
Will a smart panel automatically prevent my EV charger from overloading the service?
Only a correctly designed and commissioned system can provide the intended demand-management function. A consumption dashboard or charging schedule alone does not establish that protection.
Can I use the smart breaker to turn charging on and off?
Use circuit switching for EV charging only when the equipment manufacturer supports that application. The ability to switch a circuit remotely does not establish approval for repeated automated charging control.
Why does my EV charge more slowly after I connect load management?
A demand-management system can reduce charging current when other loads need capacity. Check the reported operating state before treating the reduction as a fault.
Can my vehicle schedule and charger schedule run together?
Overlapping schedules can prevent a charging session from starting. Use one primary convenience schedule unless the equipment instructions specify a coordinated arrangement.
Does Imperium Electric LLC serve homeowners outside Port St. Lucie?
Yes. Imperium Electric LLC serves residential and commercial customers in Stuart, Jensen Beach, and the Treasure Coast as well as Port St. Lucie.
One last thing
Test the restart, not just the shutdown. A system that successfully pauses charging still needs to demonstrate that charging resumes under the intended conditions. Include that result in your 2026 handover record before relying on the workflow overnight.